
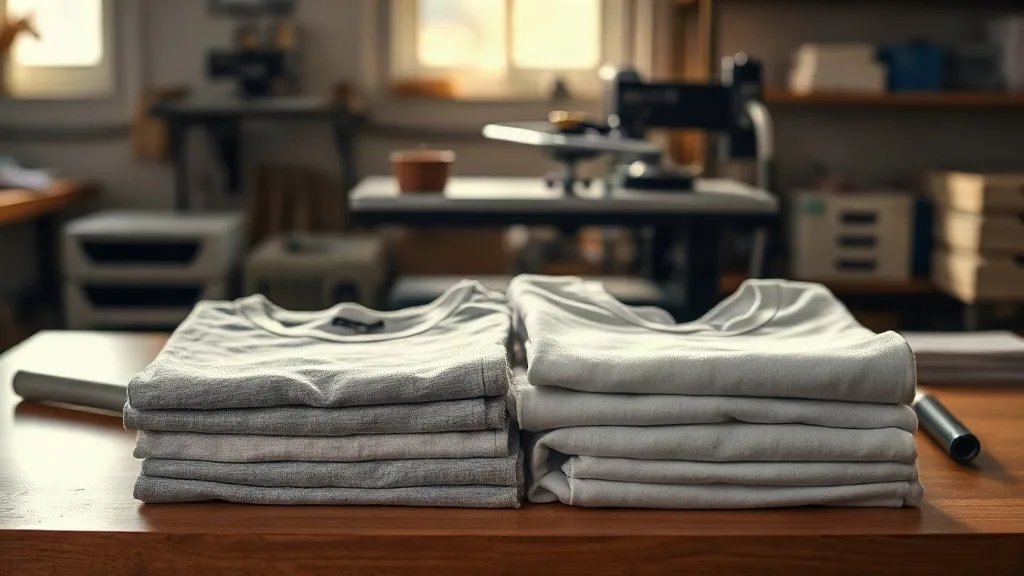
Every print shop owner eventually hits the same wall. A customer wants a heavyweight tee that photographs well, another wants a budget-friendly option for a 300-piece team order, and both expect the same crisp DTF transfer to look identical after ten washes. You reach for one blank out of habit, and suddenly the whole order feels like a gamble. The real fix is not a better press or a new adhesive powder. It is knowing which blank belongs to which job, and why. That is where shaka wear and smart blanks enter the conversation, not as competitors fighting for the same shelf, but as two tools that solve two different problems.
This is not a spec-sheet dump. It is a practical look at how these two blank lines behave under a heat press, how they change your cost per unit, and how to build a blank strategy that keeps customers coming back without quietly eroding your margins.
Why the Blank Choice Decides Your DTF Outcome
A DTF transfer is only as good as the surface it lands on. The film carries the ink, the powder gives it flexibility, but the fabric determines how that ink sits, cures, and survives. A loosely knit cotton with a rough face will swallow detail. A tightly woven, ring-spun surface holds fine lines and gradients the way the artwork intended.
Most print defects that get blamed on transfers, things like cracking at the shoulders or a plasticky sheen across the chest, actually start with the blank. If the weave is uneven, the adhesive cannot anchor evenly. If the fabric shrinks unpredictably, the print distorts with it. So before you compare brands, compare what each one asks of your process.
Three blank traits that matter more than brand name
- Surface smoothness: A tight, combed face holds fine halftones and small type. A rougher face is more forgiving of bold, simple graphics.
- Weight and drape: Heavier fabric hides press marks and feels premium in hand, but it also holds more heat, which affects cure time.
- Shrinkage behavior: A blank that shrinks two sizes after the first wash will drag your print with it. Pre-shrunk or low-shrink options protect the artwork.
What Shaka Wear Brings to the Press
Shaka Wear has built a following among streetwear-leaning buyers for one main reason: the silhouettes read as premium without a premium price tag. The heavyweight tees and hoodies sit with a boxy, modern drape that photographs well for online stores, and that matters more than most shop owners admit. Customers judge a mockup by how the garment looks on the model, not by the transfer spec.
Under the press, the heavier cotton face takes a DTF transfer cleanly as long as you respect the cure window. The fabric holds heat, so a slightly longer pre-press helps drive out moisture before the transfer goes down. Shops that skip that step often see the print lift at the edges after a few washes, and they blame the film when the real issue was trapped moisture in a dense blank.
Where Shaka Wear earns its place
Reach for this line when the order is brand-driven. A boutique drop, a band tee, a hoodie the customer plans to wear as a statement piece. These buyers notice fabric weight and fit, and they are willing to pay for both. The blank becomes part of the product story rather than a cost line to minimize.
What Smart Blanks Brings to the Press
Smart Blanks plays a different role. This is the workhorse side of the shelf: reliable, consistent, and priced so that volume orders still leave room for profit. The focus here is on repeatability. When you print three hundred pieces for a school, a charity run, or a corporate event, you need every shirt to feel the same in hand and behave the same in the wash.
The lighter, smoother face on many smart blanks options actually suits DTF transfers well. Fine detail holds, cure times are shorter because the fabric is less dense, and stacking finished pieces is easier when the garments are not bulky. For shops running gangsheets with mixed sizes on one film, that predictability is worth a lot.
Where Smart Blanks earns its place
This is the blank for high-volume, price-sensitive work. Fundraisers, team uniforms, promotional giveaways, staff apparel. The customer cares about the print and the price, not the fabric mill. Choosing a consistent, affordable blank here protects your quote and keeps the job profitable.
Building a Two-Blank Strategy That Protects Margins
The mistake many shops make is picking one blank and forcing every order onto it. That approach either over-delivers on cheap jobs, which eats your profit, or under-delivers on premium jobs, which costs you the customer. A two-blank strategy solves both problems at once.
Match the blank to the buyer, not the invoice size
A small order is not automatically a budget order. A ten-piece run for a local brand that plans to resell at a markup deserves the heavier shaka wear option, because the buyer is investing in presentation. A five-hundred-piece run for a corporate client who wants a single logo on the chest deserves the consistent, affordable route. Judge the buyer's intent, and the blank choice becomes obvious.
Keep a sample rail for both lines
Nothing sells a blank faster than a customer holding it. Keep one finished sample of each line, printed with the same transfer design, on a rail near your counter. When a buyer hesitates between budget and premium, hand them both. The decision usually takes ten seconds, and you avoid the awkward conversation about why the cheaper option feels thinner.
Track cost per finished piece, not per blank
A blank that costs a dollar more but cures faster and wastes fewer transfers can actually lower your cost per finished piece. Keep a simple log: blank cost, transfer cost, seconds spent pressing, and reprint rate. After a few dozen jobs, the numbers tell you which line belongs on which order far better than any gut feeling.
Practical Tips for Printing on Either Blank
- Pre-press every garment for a few seconds to release moisture, especially on heavier cotton.
- Use a lint roller on the print area right before transfer. Lint under the film is the quiet cause of most peeling complaints.
- Let finished pieces cool flat before stacking. Warm transfers pressed against each other can wrinkle the film.
- Wash-test one sample from each new batch. A five-minute check saves a full reprint later.
Frequently Asked Questions
Can I use the same DTF transfer settings for Shaka Wear and Smart Blanks?
Mostly, but not exactly. The heavier cotton in shaka wear holds more heat, so a slightly longer pre-press and a careful cool-peel check help. Lighter smart blanks options usually cure faster. Test one piece from each batch and adjust time rather than temperature.
Which blank is better for a first-time DTF order?
Start with the blank that matches the customer's budget and use case, not the one you happen to have in stock. If the buyer is price-sensitive, a consistent budget line protects the quote. If presentation matters, the heavier option sells the finished product better.
Do heavier blanks really last longer with DTF prints?
Weight alone does not guarantee longevity. What matters is a tight, even fabric face and proper cure. A well-cured transfer on a lighter blank can outlast a poorly cured one on a heavy garment. Treat the press settings as seriously as the blank choice.
How do I explain the price difference to a customer?
Show, do not tell. Hand them both blanks, point to the weight and drape, and let the fabric make the case. Customers accept a higher price quickly when they can feel where the money went.
Should I stock both lines at once?
If your order mix includes both premium brand work and volume jobs, yes. Two lines cover most of the market without turning your stockroom into a warehouse. Track which sizes move and restock accordingly.